
Wednesday, April 28, 2010
Tuesday, April 27, 2010
Tech Tip Tuesday
Or
Sometimes There's No Tool Like an Old Tool
I have a student who is a professional woodworker - a cabinetmaker by trade. He is, ummm, well experienced and I've known him in one way or another for many years. He'd been thinking of building a kayak for many years and had already purchased plans for a Newfound Woodworks Osprey. I knew this and had been talking with him about it for quite some time. After a fair amount of teasing, he finally signed up for my class.
This student is a talented woodworker, but is comfortable using his tools. Most of these tools happen to come with a "tail" that ends like this:
 I'm not a Luddite - I use power tools where I think they make sense. For example, I'm not going to rip the 1/4 mile of strips that go into a Wee Lassie by hand. Nor, will I do my final sanding on a whole hull by hand. Still, I will do my initial fairing with a sharp hand plane and my initial sanding with a long-board to achieve a good, fair hull.
A few weeks ago, this student was working on his coaming - it is made up from 3/8" thick cove-and-bead cut Port Orford Cedar. His final strip was in the front of the coaming and was made from a piece of Butternut (also known as White Walnut) to match the feature strip running down the center of his deck. He had measured the gap where this final strip went and made this last piece up in his shop during the week using a router table to shape the coves.
He arrived at class to find it 1/8" too wide.
What to do?
He started looking around for tools - power tools - to solve this fit issue. We suggested the use of a piece of coarse sandpaper wrapped around a dowel of an appropriate diameter. Here is the suggestion being implemented: (note the power tools on the bench...)

Did it work?
Yup.
Was it quick?
Yup. It took less time than setting up the router would have.
Sometimes the best tool isn't a power tool.
Once the pieces were glued in place, the bottom of the coaming needed to be cut flush to the bottom of the deck. First tool that came out? A sabre saw. It wasn't a bad idea, but we were concerned about breaking loose the edge glued strips until such time as they were reinforced with fiberglass and epoxy. We suggested the use of a Japanese style pull saw for trimming the edge. He looked at it suspiciously and I'm surprised that he didn't ask where it plugged in. After a little practice he got all but the most difficult transitions cut flush. Here he is making quick work of the trimming:

Still, he couldn't resist getting out the power tool to finish up the details:

While he often teases me in class with his suggestion that, "I'll get out the belt sander to do that." I think he's developed a new-found respect for some of the hand tools when they are the right tool for the job.
Monday, April 26, 2010
Less than 60 days!
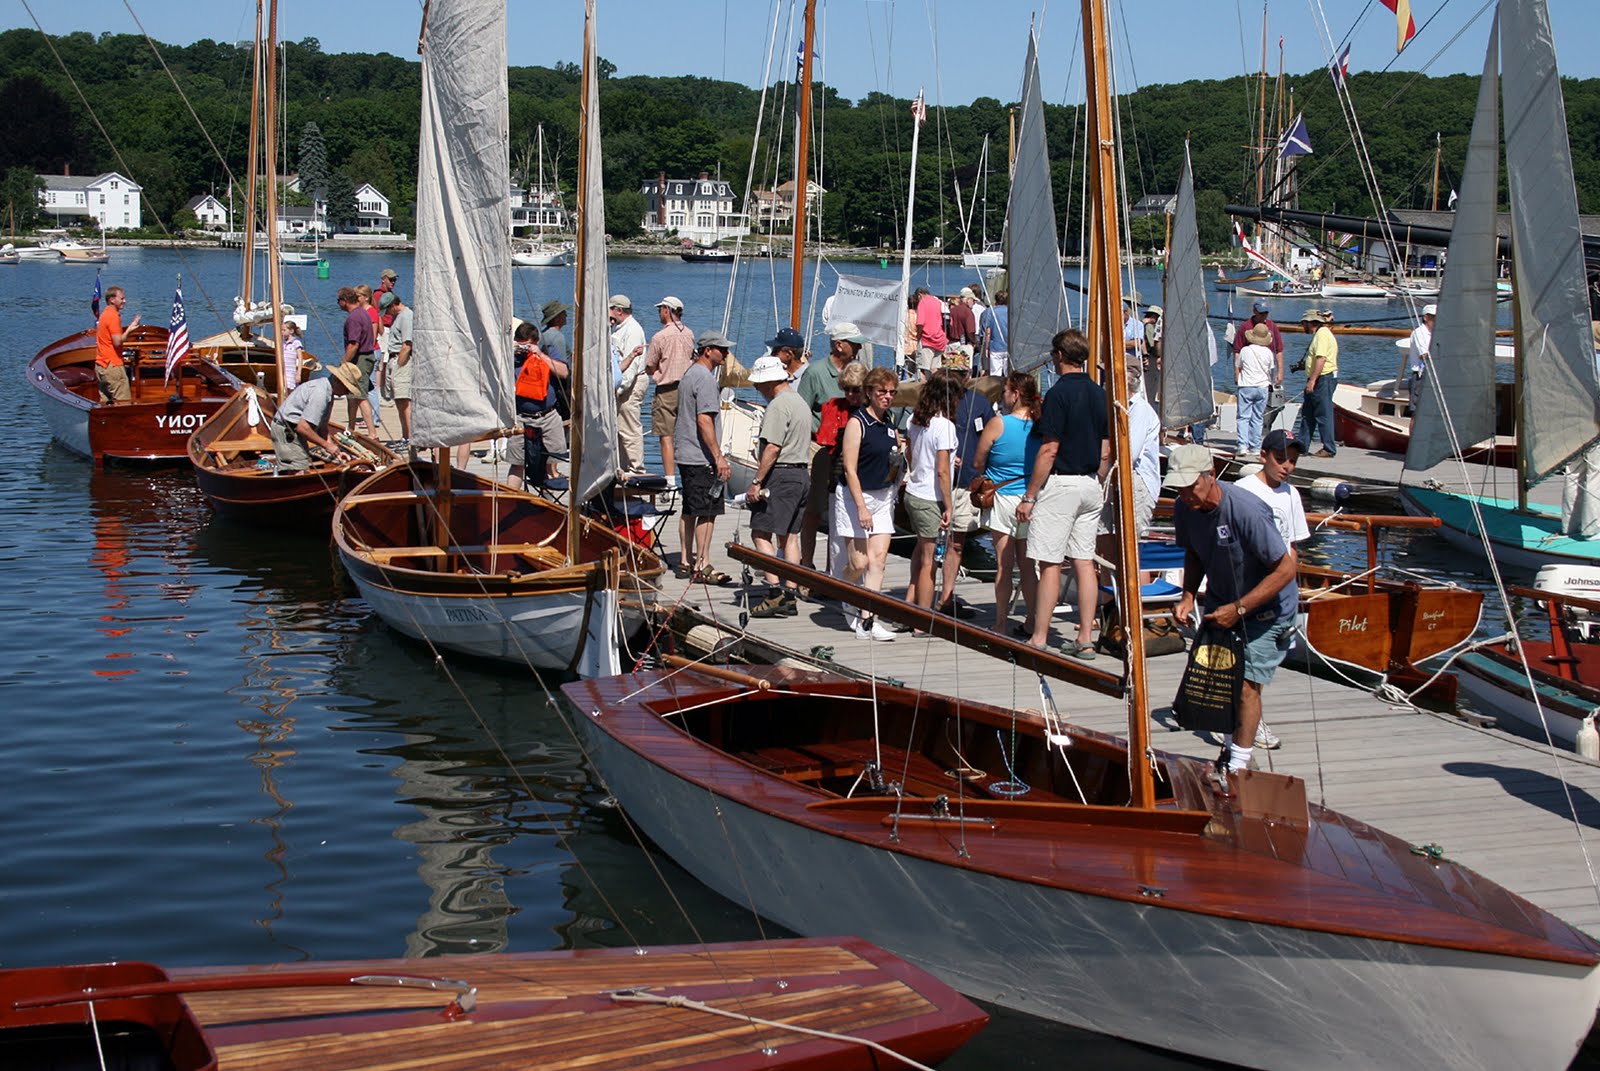
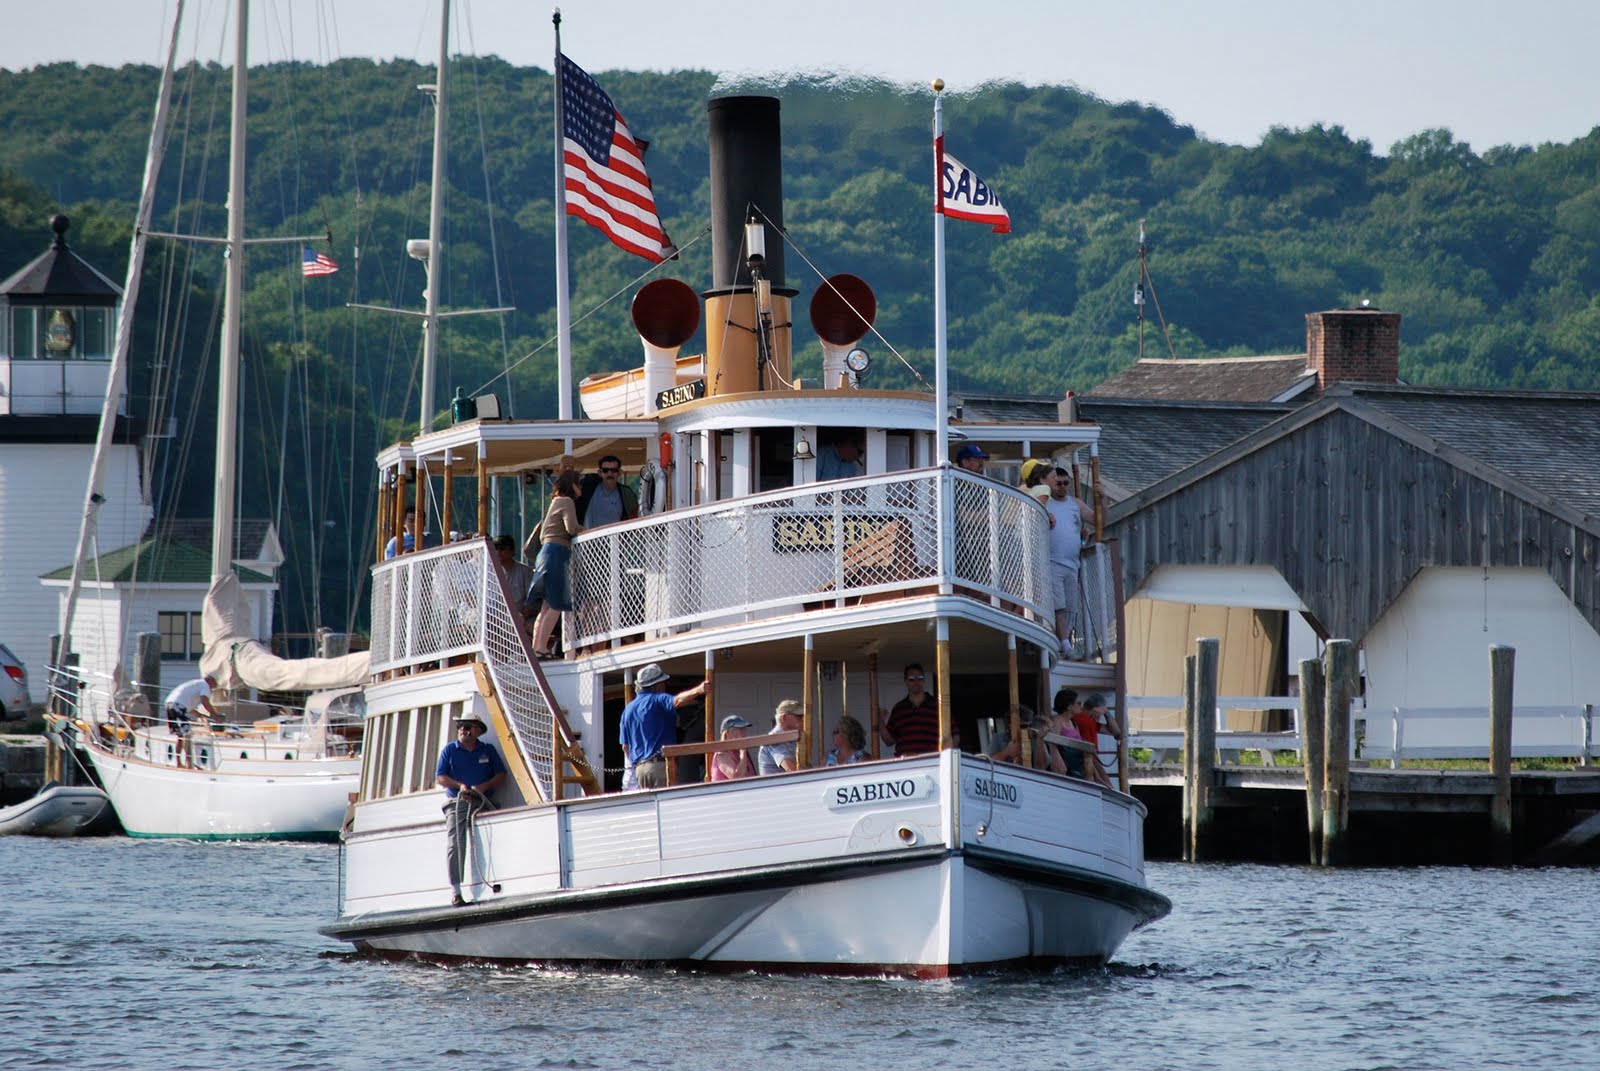
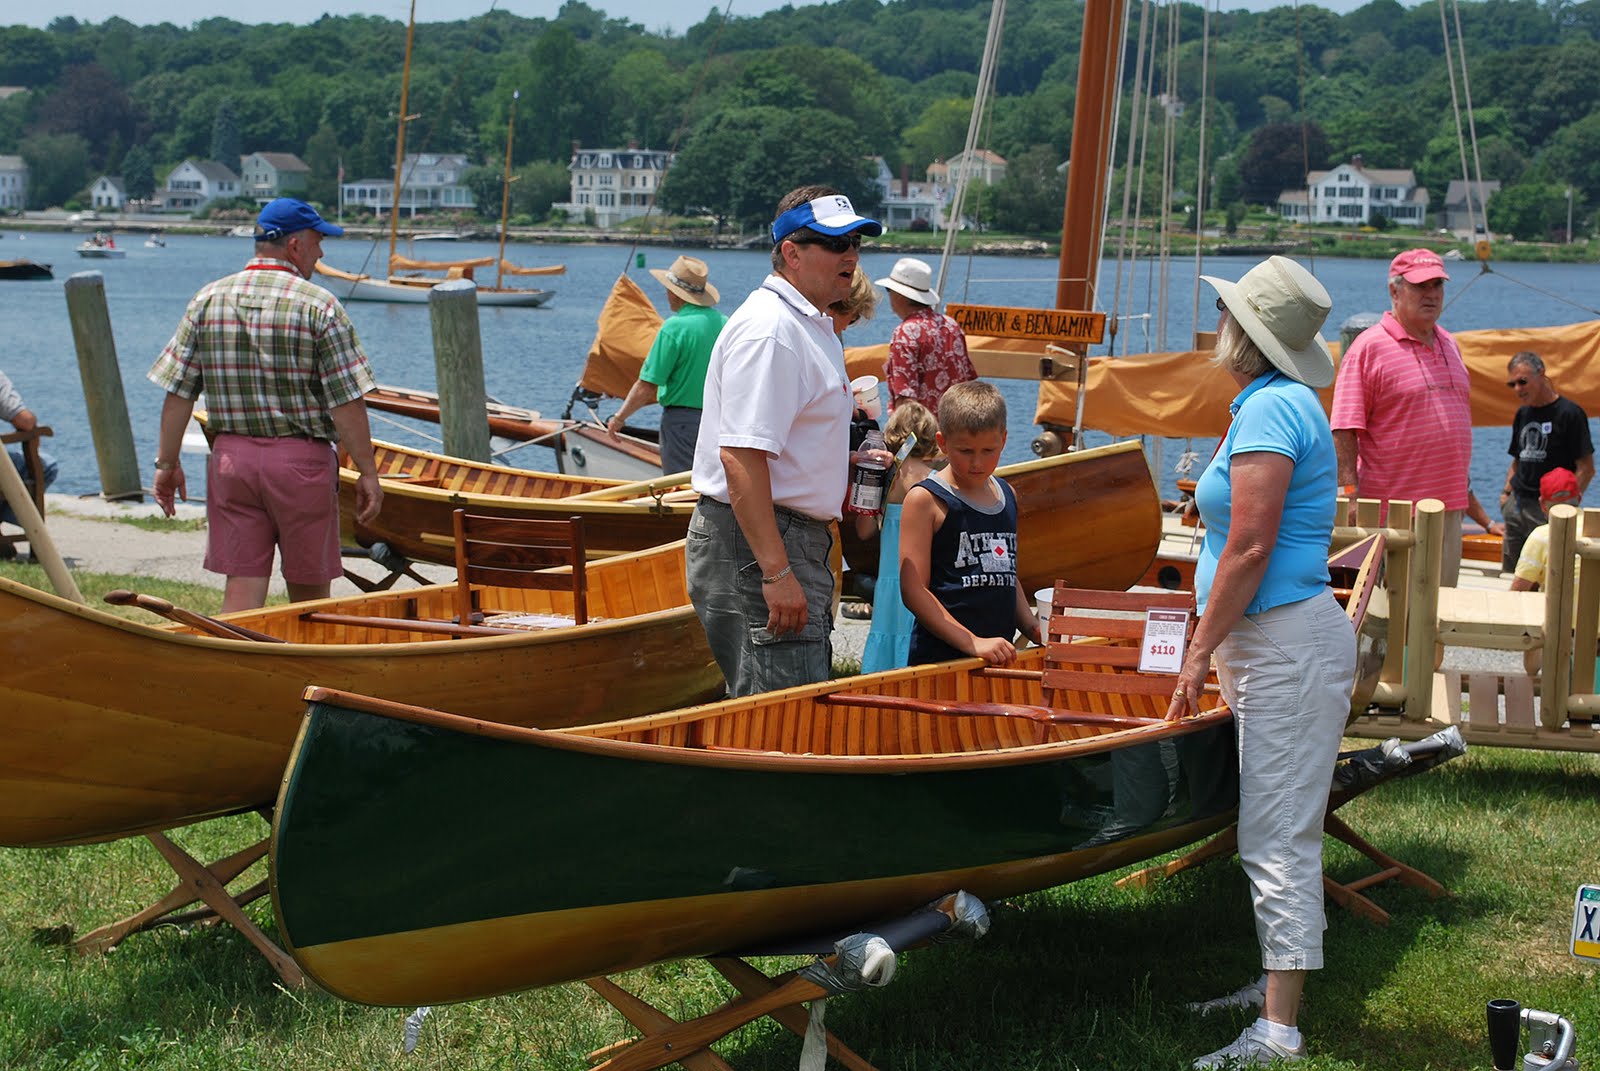
 The WoodenBoat Show is returning to Mystic Seaport again this year. It truly is an event not to miss for anyone with even a passing interest in boats of any kind and wooden boats in particular. For three days in June, the Seaport will be transformed. There will be boats on display in the water, on the grounds and in the museum's displays. There will be how-to sessions at the Henry B. duPont Shipyard by museum staff and WoodenBoat Instructors, authors and contributors.
There are items on display and on sale from myriad vendors.

This year, Family Boatbuilding will return to the show - care to build a boat?

On Saturday evening, noted boat designer, Iain Oughtred will be feted with a dinner at which he will speak. Iain is noted for his elegant traditional lapstrake designs which are primarily small craft under twenty feet in length. These designs borrow from the Scandinavian and Scottish traditional small craft designs. Such opportunities do not come very often.
In addition to the show, all of the normal activities and facilities of the museum are open, but with one unusual addition. The Rossi Mill Building - which I posted about last year - is open for show attendees to tour and ask questions of the museum employees and volunteers.
A wonderful show in a beautiful location!
Sunday, April 25, 2010
Real men (and women) play with dollies.

The Ranger has proceeded to get heavier as strips have been added to the hull. Most builders who start in on building a canoe don't move it while it is being built. There are two major reasons:
- The forms might move, altering the hull shape.
- The forms and hull are both awkward and bloody heavy.
Brains over brawn any day.
Wednesday, April 21, 2010

Tuesday, April 20, 2010
Tech Tip Tuesday
 (From Despair.com)
I have to say that I look on mistakes (Or Misteaks and Boo-Boos as Dave Fleming would have said...) a little differently than other people.
I've been working on several skin-on-frame kayaks. I'm almost ready to skin the boats, but I have a few more details I need to work on. These details are the foot braces the cockpit coaming and a hatch cover and rim. The coaming cover and rim are essentially laminated ovals and are very similar. Unlike very traditional skin-on-frame kayaks which are built specifically for one user and have fixed foot braces and sized cockpits, I'm trying to make a more flexible boat in terms of fit. To that end, I'm making adjustable foot braces.
I started out and designed a set of dovetail rails about 2 feet long with mating slides that had a large foot-pad. There was a pair for the left and right side of the kayak. On the slides were going to be pins with a coil spring to push the pin into holes in the dovetails to allow you to adjust the position of the foot brace.
Things started out auspiciously. I milled the rails. I made up the mating slide parts. I assembled the slide parts. I slid parts together. They slid nicely.
Then I started to look at things a bit more critically. There were some issues. The "wheelbase" of the slide on the rail was short and the parts weren't particularly robust. The release pin for the slides was going to wind up being behind the pedals. This would have been inconvenient as the the kayak is very low volume and it will be awkward to reach into the cockpit to adjust these pins.
Meh.
I was a bit disappointed, but I went back to my Thotful Spot.
I learned something. Well, I learned several things, really. I learned that wasn't the way I wanted to do this. I wanted something simpler and more robust. I wanted something that I could adjust from inside the cockpit. I wanted something that wasn't going to include any metal parts.
What I have in mind is a single central rail with a dovetail on the sides and a holes in the top that can sit on top of the keel stringer. It's sort of like a wooden drawer slide and will have a longer engagement with the central rail. The foot pedals will be a single piece attached to the slide that will run on the rail. There will be a long flat strip of wood extending back towards the seat with an integral pin. This strip of wood will be a leaf spring to keep the pin in the holes and should be reachable from the paddler in the cockpit.
Previous design and theory are important when working on an idea, but there's nothing like trying and doing, whether you get it "right" the first time or you make a mistake.
So, if you do make a mistake, have the persistence to keep on learning, honing your skills and trying new methods to achieve your goals.
Monday, April 19, 2010
Maine Boatbuilder's Show : Episode 6

As I was momentarily distracted, I'll continue with a wrap up of some of the sights and scenes of this year's show. Above is a good overview of one section of the show. Directly at the bottom of the shot and just out of sight is the Shaw & Tenney booth. Shaw & Tenney are longtime makers of fantastic paddles and oars in Orono, Maine. Oddly enough, they had a Whitehall pulling boat which you can just see. Nice work, just not what I expected from them.
Just above that is Clint Chase's booth. Clint had his Drake pulling boat on display. Drake is his own design based on a Norwegian style hull and won last year's Concours D'Elegance award at last year's WoodenBoat Show in Mystic. Clint is the former director of the Compass Project in Portland, Maine and a graduate of the Landing School. This summer, Clint will be teaching a Session at the WoodenBoat School on modern and traditional oar making. Be looking for great(er!) things from Clint in the future.
Boat size ranged from the very small - a salesman's sample canoe in a full size boat... (No, you're not looking at an Escher photograph.)

...to the very large - Phin Sprague's Schooner Lion's Whelp. It's a 72 foot long boat - one of the largest at the show, and it's for sale!

There was the old, and venerable - Lowell's Boat Shop - they are on the National Register of Historic Places. On top of being an active boat shop, they are a museum as well, being the source of many of the New England fishing dories that were a critical tool for the New England fishing fleets. Oh, and yes, that does say since 1793. They have been in continuous operation since that time!

There was the very shiny - lots of different product on display from Bristol Bronze. If you need bronze hardware, they probably make it.

Some bronze work in action...

Classic Boat Shop from Bernard, Maine brought along their Pisces 21 daysailor. It is designed by Chuck Paine based on the Herreshoff Fish Class. It's truly a beautiful boat.

CW Hood brought their sleek 32 foot daysailor to go along with Mischief. Personally, I think the daysailor was the more impressive of the two boats.
 The Compass Project that I mentioned above was also there displaying boats and raffling off a boat to raise money for their program. It is a program which teaches youth job skills and life skills by building boats. We need more of this kind of stuff.
A pleasure, as always!
Saturday, April 17, 2010
Camaraderie

One of the things that I really like about the class that I teach is that it is - by necessity - a small class. I'm limited by the number of boats that we can store in the barn we're allowed to use for storage. Because of this, this relatively small number of people in my class spend about 4 hours a week in each other's company learning a bit about each other.
We have a few "traditions" of a sort in the class that help build it into a tight-knit group. We try to work together when it makes sense. We have a 10 AM "Union Break" for coffee, fruit and baked goods of some sort where all the work stops and the tools go silent. I find that this is an important opportunity to let people ask specific questions of the teacher (me!) that all who are interested can listen to. They also have the chance to talk to each other about something other than the boat building process.
Because I have students who have different levels of boat-building and wood-working experience, I find that they share their experiences and that the experienced students show the others what is possible by example.
One of the more unique ways in which they build camaraderie is when we have a "double session" A "double session" is just that - we do two classes in the same day. This lets us get in that much more work as we only move the boats once for two classes worth of work. To avoid overwhelming everyone, we have a nice lunch break where we have the occasion to break bread together. Sometimes we just order out for sandwiches or pizza and sometimes we bring a pot-luck lunch. Personally, I prefer the pot-luck lunches - it's more personal than just ordering out.
Our class two weeks ago was a double session. Here are a few pictures of our spread:

From left to right - rosemary sourdough bread, salad, sweet potato casserole, turkey and roast stuffed pork.

Dessert was hiding just out of frame to the left. Behind the cups and silverware was a chocolate cake with bittersweet chocolate frosting.
Yum!
The camaraderie extends beyond class - these students spend time together outside of class and even drop in long after they've completed their boats. We can only hope to build boats and community at the same time!
Wednesday, April 14, 2010

Monday, April 12, 2010
Best . Warning . Message . Ever .
From the department of redundancy department at Microsoft:

Downside?
It made coffee come out through my nose.
(Ok, I guess that was TMI)

Downside?
It made coffee come out through my nose.
(Ok, I guess that was TMI)
Friday, April 9, 2010

Wednesday, April 7, 2010

Monday, April 5, 2010
Maine Boatbuilders Show : Episode 5
While it is called the Maine Boatbuilders Show, boatbuilders and suppliers from all over come to the show. There are quite a few builders from Cape Cod, one from Northwestern Vermont, Southern Connecticut and Nova Scotia, Canada. There was a vendor of custom instrument panels who'd even come all the way from Washington State.
One of the vendors from Cape Cod was Ballentine's Boat Shop, They had one of their boats on display along with a nice display of custom brass work. I thought that their slide show was both unique and interesting - they were showing their work using the sail of the boat on display as the screen for the slides!


Steve Kaulback from Adirondack Guideboat, located in North Ferrisburgh, Vermont - not far from Burlington - had a variety of their beautiful guideboats on display. They included all-wood boats sheathed in fiberglass and the Kevlar and fiberglass hulls with wood trim. Steve's company sells a variety of designs and sizes as complete boats and as kits for the home builder.
Be sure to stop by and visit their website for some better views of their boats.


From Southern Connecticut was Nick Schade of Guillemot Kayaks had some of his beautiful and lightweight canoes and kayaks on display. Nick is an incredibly well-rounded guy. He's a mechanical engineer by training, a small boat designer and builder, an author and a teacher. At the WoodenBoat School this year, in addition to his usual classes, Nick will be picking up the Cedar Strip Canoe building class that had been taught by Ted Moores of Bear Mountain Boats. Nick has a new book out in the past year entitled, Building Strip-Planked Boats. This new book is a more general purpose book on the subject and includes information on the building of a dinghy, canoe and kayak.
Nick had four boats with him - two of his Nymph double-paddle canoes, his Aleutesque sea kayak and a stitch-and-glue Night Heron kit with puzzle cut panels. I'm always interested in getting an opportunity to talk with Nick as he's always got something new up his sleeve and usually has come across that obscure building detail that I haven't seen yet.


I should also mention that Nick's brother Eric is a talented designer and builder in his own right. Eric owns Shearwater Boats and also teaches at the WoodenBoat School among others places. Eric's plans and kits are also available through his partnership with John Harris of Chesapeake Light Craft.
From Chester Basin, Nova Scotia was Bruce Thomson of Tern Boatworks. Bruce had brought along Enigma - a stunning International One Design with a well-faired black hull. It shone like a mirror and the detail was fantastic.

Tern's platform for viewing Enigma was busy for quite some time. I came back three times before I had the opportunity to climb the platform to get a look at her and talk to Bruce. It was a good testament to their workmanship.
The aft deck was simple and clean...

The woodwork on the interior was to the same high standard as the rest of the boat...

Bruce said that this had been an interesting challenge as the plans that had arrived were in a foreign language. While this might not normally be a challenge, the terminology for boat building in different languages can be very specific. He discovered that they needed a little help to assure themselves that they'd gotten terminology correct.
A beautiful scarf joint at the rail with matched plugs. The Devil is still in the details...

Sunday, April 4, 2010

Saturday, April 3, 2010
Spring has Sprung!

This morning was one of my favorite kinds of mornings at class. Today was the first class of the year where it was warm enough to work on the boats outside and to put them away in the barn without the glue freezing.
All of the boats seem to be progressing nicely in one way or another. Here is the kayak deck that was 'glassed on the inside last weekend:

This weekend, the student cut the coaming opening per the plans and has started to install the coaming rim's vertical members. By the time that class was completed, most of the rim was complete. Next week, it will have a fillet of "dookie shmutz" and a glass tape reinforcement on the outside to support it before it will get cut down to the contour it will finally get.
The Ranger has been stripped to the point where the "football" has begun. This is the part where a strip is left unglued at the turn of the bilge and stripped past the centerline of the hull. Once this half is completed, the centerline is marked and the panel is removed and cut. The other half of the panel is built and scribed to match the first. The two halves are then fitted and glued together.

It's looking nice - they should finish the first panel at the next class session.
Our other Wee Lassie designs are about 1/2 stripped at this point. It never ceases to amaze me that even though they are the same designs, each one is a unique and individual boat.

Subscribe to:
Posts (Atom)


