I'm trying to decide if the appropriate term to use here is "determined", "stubborn" or just plain crazy. As you may recall if you are a regular reader here, we've been working on some skin-on-frame kayaks. They're based on a Tom Yost design, but we've altered some of the design to suit our needs. One of the things I don't care for about Tom's boats is the use of stacked plywood laminations to create cockpit rims. The solution that I came up with was a laminated hardwood rim and hatch cover arrangement. Oh yeah, and I also wanted them to have a little swallow-tail detail like on a Shaker box lid. (As and engineer, I can attest to the fact that "anal-retentive" IS spelled with a hyphen...)
The learning curve started last fall and was steep. First, I used plywood forms which were much too narrow to support the wide (1-1/4") strips that I was laminating - they warped across the width of the strip. Second, I used strips that were too thin - about 1/8". They required many layers and didn't laminate nicely. Third, I learned that I couldn't just soak the strips of cherry and mahogany that I was bending in hot water and expect them to take the curve - I had to steam them. (Major Detour - time to create a steam generator and steam box set-up...) Fourth - clamp the pieces you are laminating OFF the forms you used after steaming if dimensions are not critical - you will get fewer gaps between the strips. As I've noted - a lot to learn here. While it seems crazy to go to this much work, it isn't we were always trying new methods.
Insanity: doing the same thing over and over again and expecting different results.
- Albert Einstein
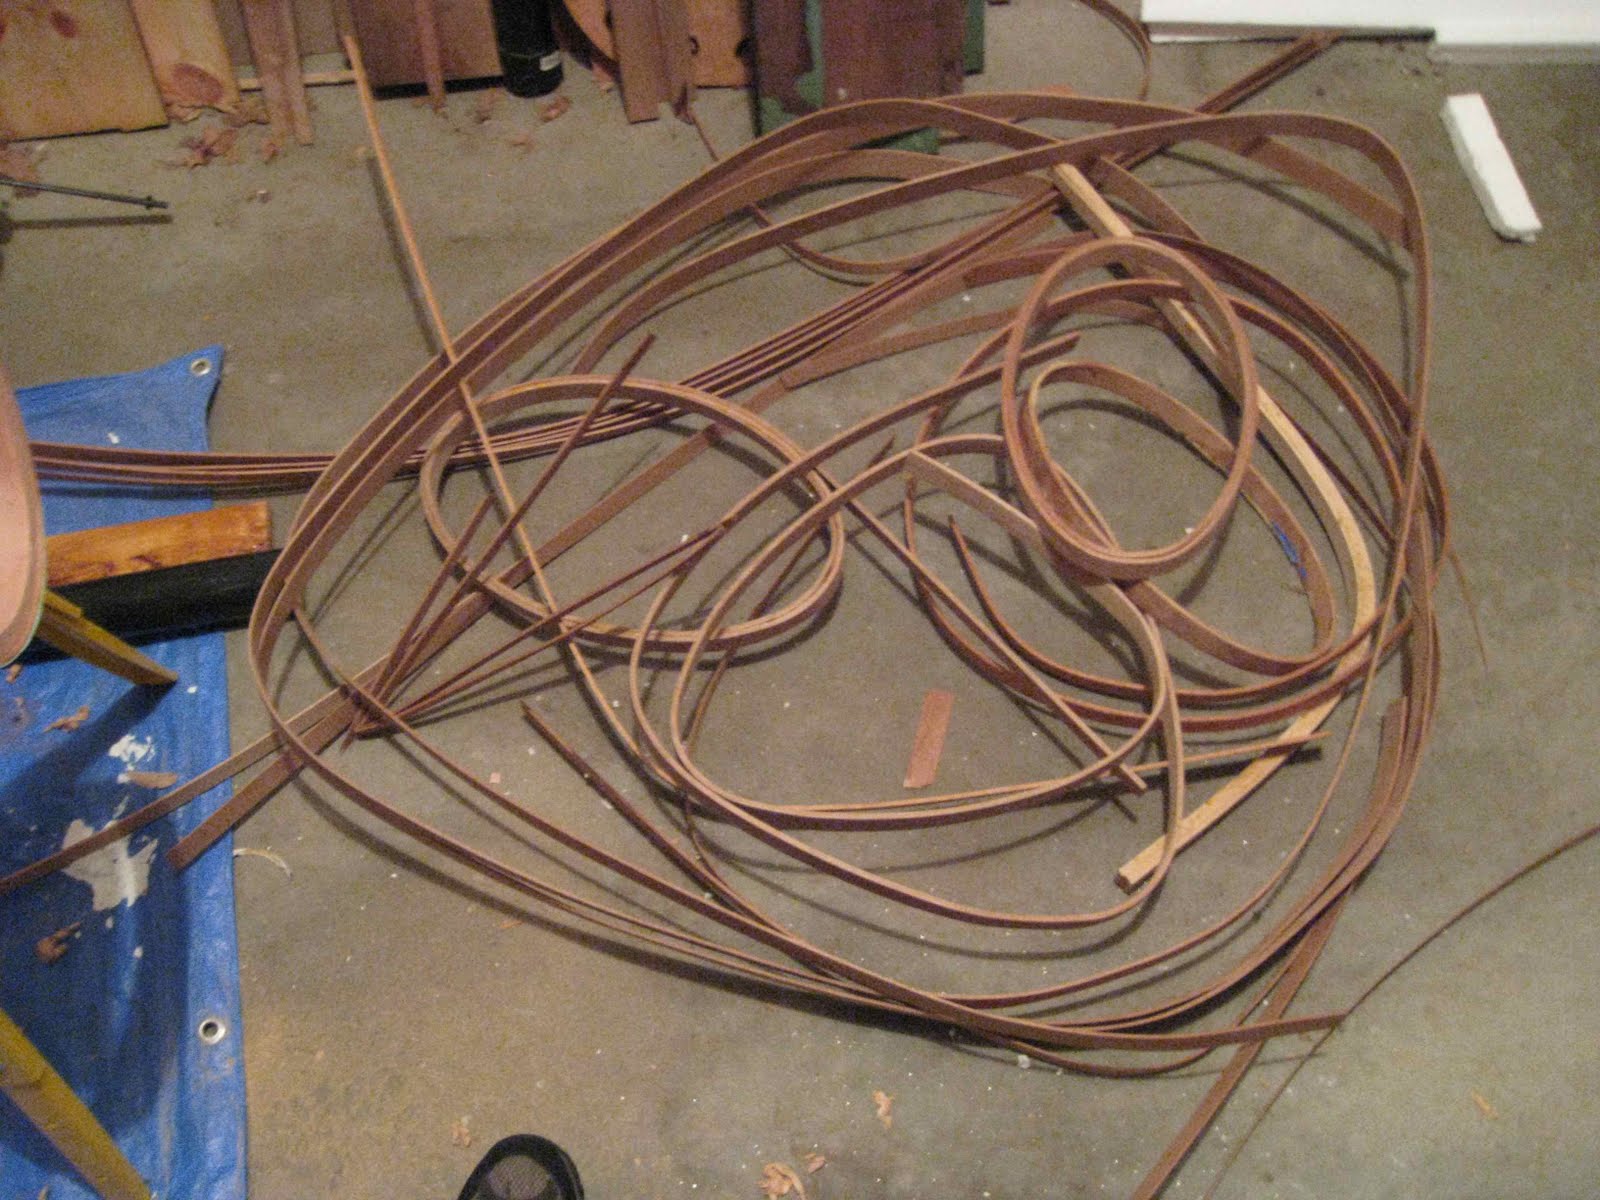
The first few laminations that I made for the cockpit and hatch cover were OK. I probably could have filled the gaps that were in a few spots with dookie shmutz and moved on. However, I am a bit of a perfectionist. (If you can't tell from the scrap pile at the top.
So, last weekend, I did another steaming session with some new cherry. I'm pretty pleased with the results. Below is the cockpit rim - three layers of 1/4" thick by 1-1/4" wide cherry. There are three pieces in the rim and they're scarfed together at the ends of the strips. I'm pretty pleased with the results. When the glue sets (probably by tomorrow night) I will clean them up, steam and form the narrower rim strips to hold a spray skirt in place. Once this cools and dries, I'll glue it up, clean and varnish. (Note the LAREpile of clamps on the floor - this had a clamp every 3-4" around the rim keeping it in place as it set!)

While you can't see the nice wood (it's covered with tape) - the inner rim for the hatch cover came out rather nicely. The tape is holding a thick piece of scrap that is bent around to act as a spacer so that when I bend the hatch cover's outer rim, it will be spaced so that it will fit over the inner rim without interference. The thicker laminations really show a good result on this part - it is nowhere near as wavy as my first pieces were and it, like the cockpit rim, are a good deal stronger than my previous attempts.

I'm certainly hoping that my patience and what I've learned here have paid off. From what I'm seeing, I think it has.


No comments:
Post a Comment